

Decorator’s tape – Getting crisp, clean lines when painting walls, trim, or detailed patterns is every DIY painter’s dream—but the reality can often fall short. Paint bleed, where the color seeps underneath the tape, is a common frustration. Fortunately, with the right technique and a few simple tricks, decorator’s tape (also known as painter’s tape) can help you achieve sharp edges every time.
Here’s your comprehensive guide to using decorator’s tape for flawless, no-bleed paint lines.
Be sure to check out our TapeEz tape cutter in action, showing how it helps create neat edges and makes finding the washi tape end quick and easy—perfect for kids and adults alike!

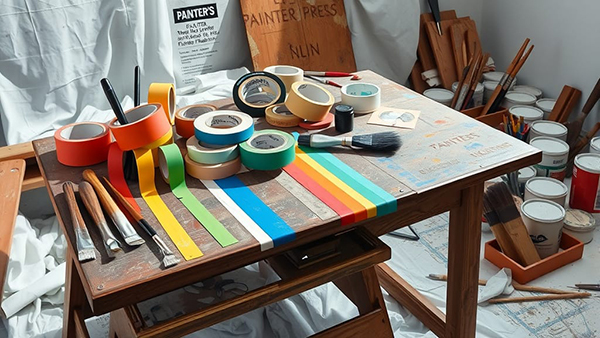
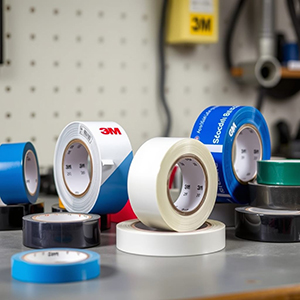
Not all decorator’s tapes are created equal. Some are designed for delicate surfaces, others for rough exteriors. For clean lines with no bleed:
Choose a tape labeled “edge lock” or “paint block” technology—these chemically react with paint to form a micro-barrier that prevents bleeding.
Before applying tape, make sure the surface is clean, dry, and smooth.
A well-prepared surface helps the tape seal better, which is essential for preventing paint seepage.
Take your time when applying the tape. Here’s how to do it properly:
Avoid stretching the tape, as it may lift later or create gaps.
This is the key technique to preventing paint bleed: seal the tape edge before painting.
There are a few ways to do this:
If you’re painting a wall and want to tape off an edge (like a trim), brush a thin layer of the original wall color over the edge of the tape. Let it dry. Any bleed-through will match the wall, creating a seal.
Artists and professional painters often use a clear matte medium (available at craft stores) along the tape line. Brush a small amount over the tape’s edge to seal it. Once dry, proceed with your main paint color.
For painting along baseboards or trim, apply a thin bead of paintable caulk along the tape edge, then smooth it out with your finger. Paint while the caulk is still wet. This method virtually guarantees no bleed.
How you paint near the tape also matters:
Multiple light coats are better than one heavy coat, which is more likely to seep under the tape.
Timing is crucial when it comes to tape removal:
Do not yank or pull quickly; slow, even motion is best.
Beyond basic wall edges, decorator’s tape can help you create unique paint effects:
For complex designs, sketch your pattern first, then use tape to section off each part with precision.
If this is your first time using decorator’s tape for detailed work, practice on a small test area or board. Get used to applying, sealing, and painting near the tape before tackling a large wall or design feature.
With the right tape, surface prep, sealing method, and removal technique, you can achieve professional-looking results—even if you’re a weekend DIYer. Decorator’s tape is more than just a masking tool—it’s a gateway to clean lines, bold designs, and a polished finish that elevates any room.
So next time you’re reaching for a paintbrush, don’t forget your secret weapon: a roll of high-quality decorator’s tape and a little patience.
Be sure to check out our TapeEz in action, showing how it helps create neat edges and makes finding the washi tape end quick and easy—perfect for kids and adults alike!